Hi
everyone! I'm sorry I missed my usually Monday post, but I have a
really fun manicure to make up for it! :D
Inspired
by some delicious treats and just in time for Valentine's Day I give
you the Pink Petite Four scotch tape manicure! :D

Okay
so the right terminology might actually be Checker Cookies and not
Petite Four...but Pink Checker Cookie Mani just doesn't sound as cute
IMO. So I am sorry for misleading you! v_v;;; I mean there’s four
squares...does that count for anything!?

Either
way, don't they look delicious? ^_^ I'm super pleased with how this
turned out, even if it was way more work than I had originally
anticipated.

So
I started off with two coats of Sally Hansen Insta-Dri: Pink Blink
and let dry completely! This is super important, otherwise when you
go to put down the scotch tape it will smudge your base coat. I think
I waited around 3 - 5 minutes just to be safe.

I
then tore off small sections of tape and cut those in half. This left
me with good sized strips to block off the first square on my nails.
I then went through taping & painting this first square onto
each of my fingertips. Remember to press firmly along the tape edges
so you get a crisp line.

For
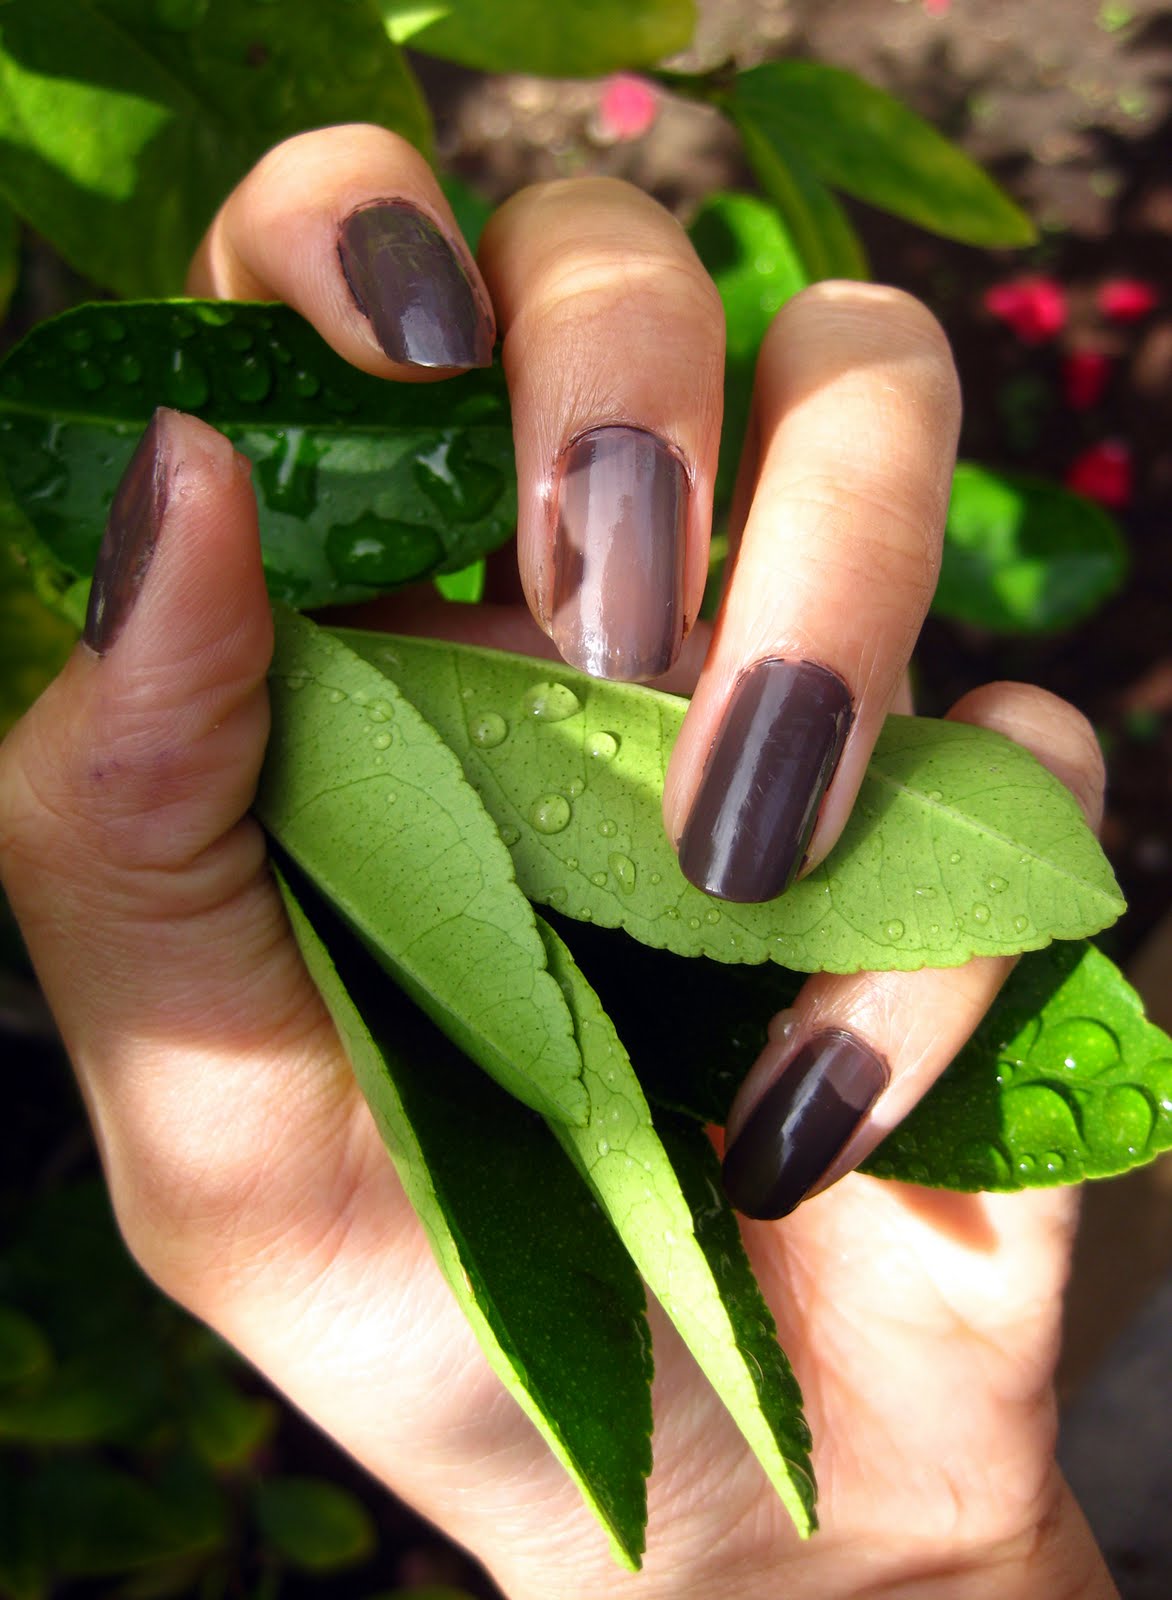
the chocolate color I used OPI for Sephora – Studs & Stilettos,
pictured above, in relatively thin, fast coats. You don't want to use
too much polish while blocking off, or else things will get messy
when you try to pull up the tape.
I
also found it helpful to peel the tape off right after you lay down
the polish instead of waiting for it to dry completely. This not only
gave a cleaner line but also some time to swipe up any polish that
leaked under the tape with a q-tip dabbed in acetone.

Once
the first round of quartering was finished on both hands I went back
in to add the second square. By now the first finger I had painted
was dry enough for me to restart the process again. Just be careful
to line up your tape with the edges of the first chocolate square you
painted.

I
ended up adding some faux pearls and crystals in the center and Voila
you're done! ^_^
Hope
you enjoyed this sweet manicure and if you have any questions feel
free to leave a comment below :D
Thanks!
-wanyachu