Thursday, October 27, 2011

Cocoa Metallic Konad Lattice

Hello again lovelies I'm now back from my adventuring in San Fran and here again with a new manicure for you all!!!

Since its starting to get rather chilly in the mornings now I wanted to do a color that had some warmth to it; so even if my fingertips feel freezing cold they can at least look nice and cozy! :P

I ended up choosing this rich medium brown by OPI – You don't know Jacques and stamping over it with China Glaze – Poetic and Konad plate m57.

I actually love You don't know Jacques lacquer by itself. It is such a rich, sultry brown that reminds me of an inviting cup of hot cocoa while simultaneously exuding this edgy sophistication when you wear it. This color totally speaks to me in a “I'm cool enough to wear nail polish but, too cool for all those gaudy colors” sort of way.

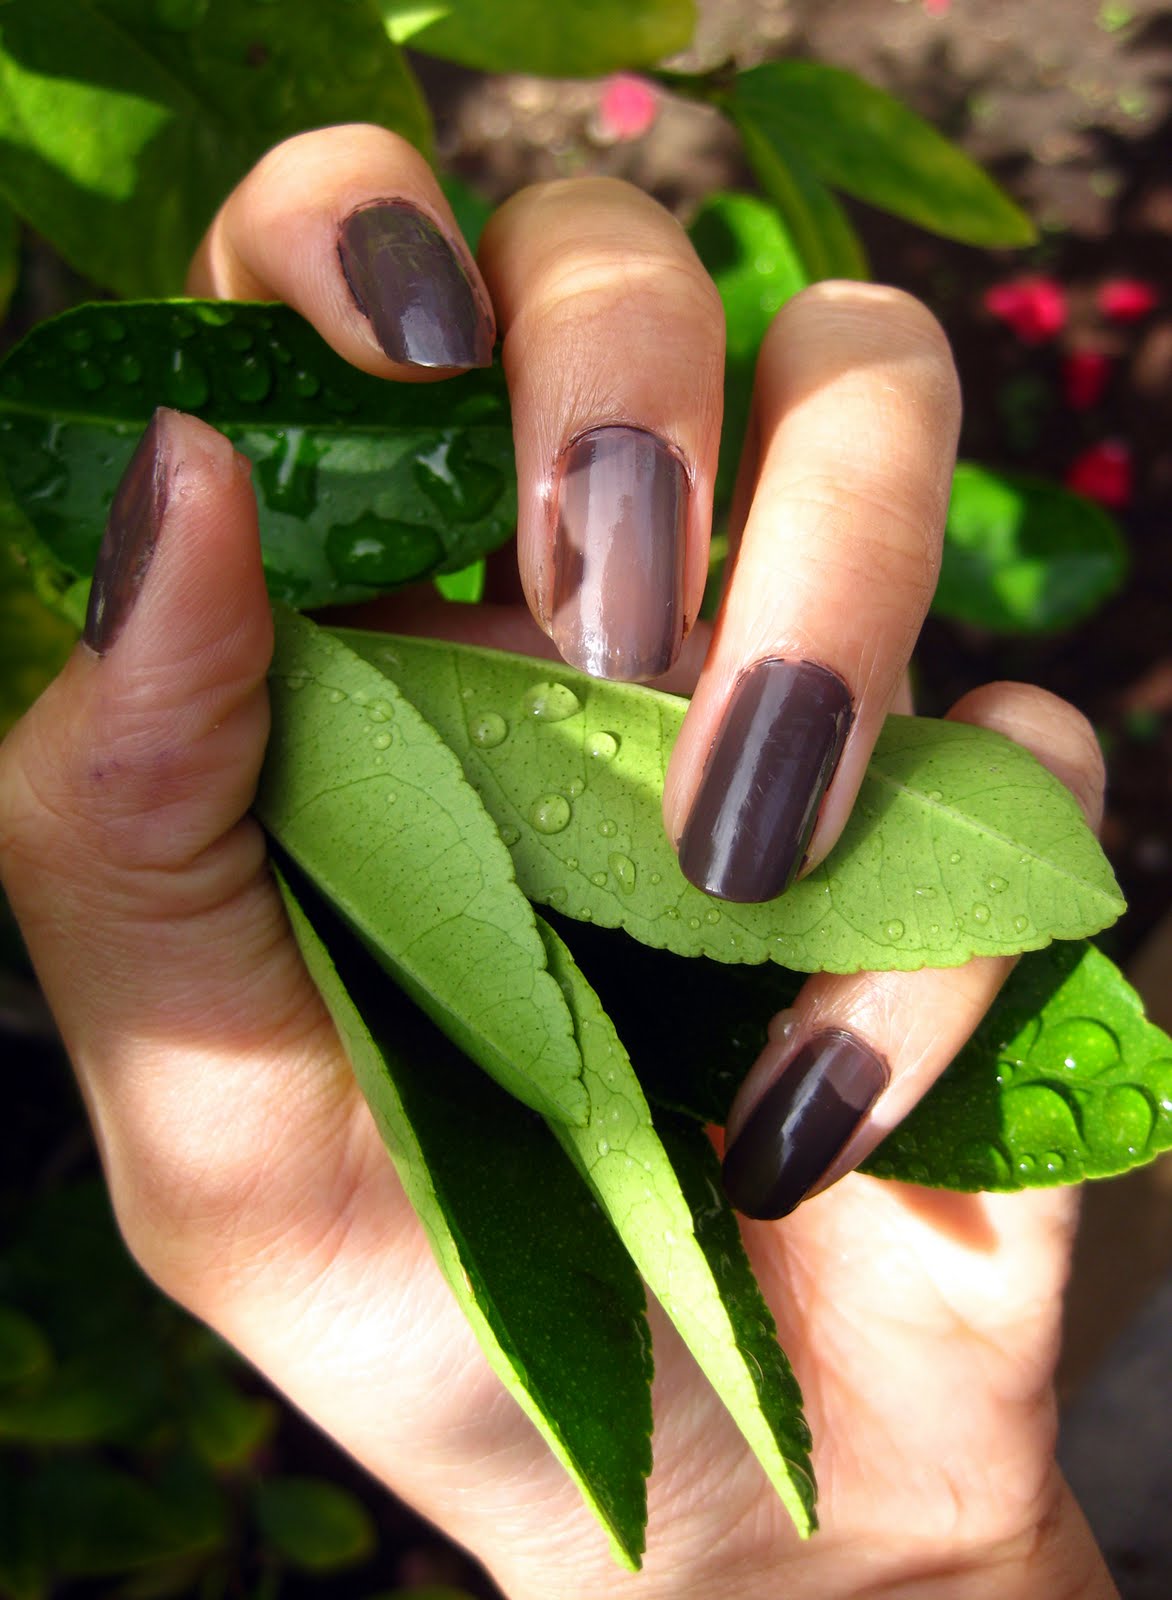
See!!! Isn't this gorgeous with out trying too hard?

But, alas, subtlety was never really my cup of tea and I have been dying to try this color combi out since I picked up China Glaze's Poetic...so I cracked >_<;;; I just couldn't leave well enough alone and after two days I whipped out my plates to start stamping. ^^;

And voila here is the final result. I used the lattice pattern on m57 to stamp half way down my tips and covered up the cut off with Konad's french plate m19.

For some reason I really felt compelled to take lots of pictures of this manicure so enjoy the extra eyecandy.

Overall I like the color combination; its a nice monochromatic pairing but I'll admit maybe the stamping was a little too much. ^^; Anywho! If you guys have any questions please leave a comment :D And hope ya'll likies!

Friday, October 21, 2011

Disco Konad Animal Print

So I'm road tripping up with the girls this weekend for some San Fran Anime Boys loving and these are the nails that are going with me! Decided I wanted to do a colorful look with a bold pattern for the festivities ahead.

I did my base coat in InstaDri – Whirlwind White and then stamped the leopard pattern from Konad plate M57 with Sally Hansen Xtream Wear Collection – Blue it, Deep Purple, and Posh Plum.

Here is my base coat...I don't really get the trend of white nails since it always reminds me of white out >_<. But thats okay cuz I will soon cover it up with pretty colors! Voila!

See, there! Much better :D Fit for some wild partying now ~

Or so I thought.... after a few days the chipping monster reared its ugly head and I ended up mixing it up a bit to try to hide the worst of it with Frenchies :D So hope you enjoy the eye candy. I'm off to a gluttonous weekend, one hopefully filled with pretty boys!

~Bunny

Friday, October 14, 2011

Flashback Friday - Water Marbling

So for today's Flashback I decided to do a little lump sum of my favorite water marbled manicures I've done so far. I originally got this idea from MySimpleLittlePleasures, a nailtastic blog, you should all check out. After seeing her tutorials I just had to give it a try.

My first attempt done with Gold, Purple, and Pink swirls. I used the gold as the base to give it some pop and topcoated with a glitter coat. Kinda reminds me of Katy Perry's E.T Music Video (but without the dumb rapping part).


Then my sister wanted to jump on the boat too so we tried out a neutral, monochromatic palette with Gold, White, and a Coco Brown. Loving the minimalism of this look without being too beige boring.

Finally we decided to do a more punk rock vamp look with just two colors this time. This one is probably my favorite out of the three and definitely want to try it on myself next time.

Cute Dinosaur not included :P

Water Marbling Tips:

- Use the lighter color as your base coat, it will really make it pop.

- Not all polishes spread equally. The only way to know if it will work is to try some drops of lacquer out.


- The more saturated the water is with nail polish the more the polish seems to spread easily. So I like to drop in some polish that I'm not too fond of anymore to warm up the water. (You'll notice that as you do your marbling the later nails are easier because of this)

- Definitely check out MySimpleLittlePleasure's water marbling tips. She has a great way of keeping your fingers clean as well as simple tutorials.


Hope ya'll enjoy and share if you try! :D


Monday, October 10, 2011

Blue Away Paws and Polka Dots


So its been a while since my last NOTD >_<; lately its been class, work, class, work and I just got a little overwhelmed but, I finally have a day off and here I am with some fun tips for ya'll.

I did blue with white paws and polka dots semi-inspired by bubzbeaty's panda nails tutorial that my bestie showed me a few weeks before. Those paws were just too cute to pass up!!!


I lacquered up my nails with two coats of China glaze – Aqua Baby, which is such a fun Mediterranean waters blue. And finished up with dots and paws in OPI for Sephora – A-Ha! Moment, a great white opaque enough for french manicures in one coat.

I wish I had taken more pictures of my nails but somehow this week went by and these were the only decent shot I got. So instead I'll finish off with a little tip the same bestie above taught me for clean manicures.

- When I want my frenchies to look more polished I don't trust my shaky hands to do the tips. Instead I paint on the polish and go back in with an acetone soaked q-tip till I get the neat curve I want.

-This usually works best before the nail polish dries too much. Two thin coats and about three minutes dry time usually does the trick.

-Finish up with a shiny top coat and any raised edges from erasing will melt away.

I used this trick to do the french on my thumb and the half moon on my ring finger and hope it helps you all too. :D